Auto Annotation
QpiAI Pro offers revolutionary Auto-Annotation methods designed to streamline your workflow. Powered by advanced Generative AI models, this tool automates the annotation process with exceptional precision, transforming raw data into labeled datasets in minutes. Use intelligently crafted prompts for object detection and segmentation tasks, eliminating the need to draw bounding boxes or masks manually. Instead of starting from scratch, you can focus on reviewing and refining annotations—saving time while ensuring accuracy.
✅ We support two powerful modes of Auto-Annotation:
-
Foundation Models: Use natural language text prompts to automatically detect and segment objects. Ideal for general-purpose, zero-shot scenarios where model training is not required.
-
Trained Models: Leverage your own model checkpoints to perform annotation based on previously trained detection or segmentation models. This mode is perfect for domain-specific tasks where custom performance is needed.
💡To get started, simply follow the step-by-step guide provided. For best results, ensure your dataset is properly configured as outlined in the Configure Dataset section. This structured approach enhances consistency and maximizes the tool’s effectiveness, making the annotation process faster, smarter, and more reliable.
💡Steps for auto annotation using Text Prompts:-
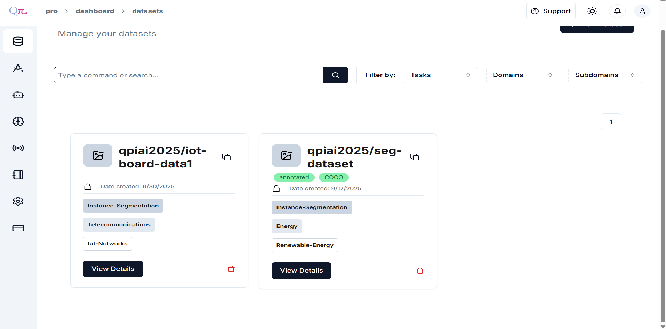
- Click “View Details”
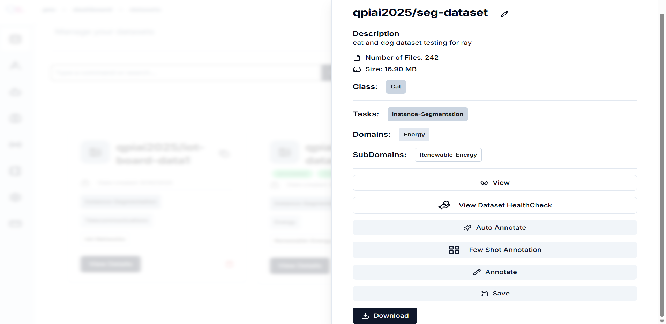
- Click on “Auto Annotation”.
-
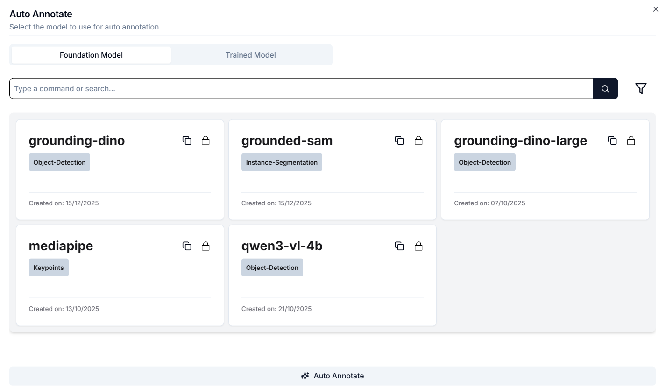
choose Foundation Model.
-
Grounding DINO for object detection (OD) annotations.
-
Grounding SAM for segmentation (SAM) annotations.
-
Grounding DINO-Large for more complex object detection (OD) annotations
-
mediapipe for keypoints annotations.
-
Qwen3-vl-4b for complex scene parsing (OD) annotations.
-
-
Steps for auto annotation using Trained Model:
- Click “View Details”.
- Choose a Trained Model.
- Click on “Auto Annotation”.
-
There will be a light blinking on just the side of the auto annotate button in three colors. These colors state.
🟡Yellow:- The auto annotation job is been queued,
🟢Green(blinking):- The auto annotation job has been started. and once Complete You will get Popup Blink as
🔴Red:- The auto annotation job is unsuccessful
💡Before, you start an auto annotation job, check the annotation server status in the notification bar. The annotation server has two statues
🟢Green:- The annotation server is up.
🔴Red:- The annotation server is down.
-
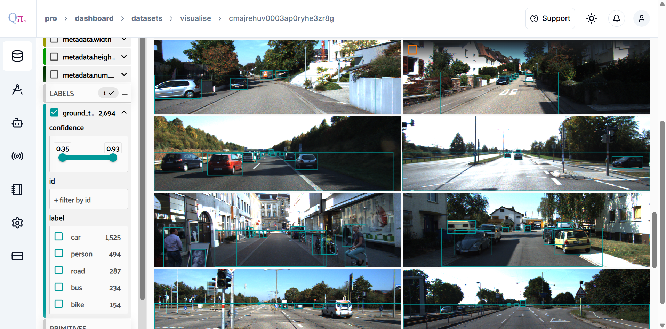
After completing the auto-annotation process, you can review the results by accessing the view button.
💡To effectively utilize this feature:
- Review each auto-generated annotation carefully.
- Pay particular attention to cases involving complex object relationships.
- Double-check classifications where visual differences between classes are minimal.
- Make necessary adjustments using the annotation tool to refine or correct any imprecise labels.
Remember that Auto-Annotation serves as a powerful starting point, but human oversight remains crucial for ensuring the quality and reliability of your labeled dataset. This combination of automated efficiency and human expertise will help you build a robust foundation for your machine-learning projects while maintaining high standards of accuracy.