Configuring the Dataset Metadata and Uploading the Dataset.
The “Configure” Repository screen in QpiAI Pro allows you to define the metadata for your dataset, ensuring proper organization and alignment with your project requirements. Key fields include:
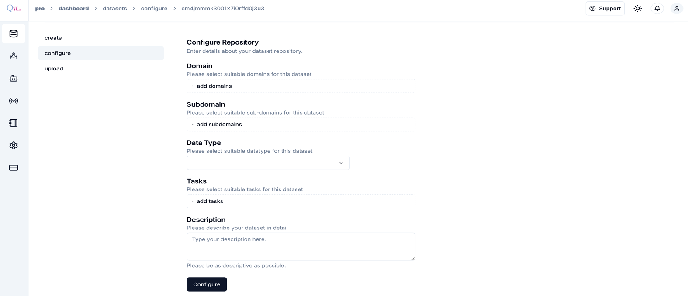
The metadata includes the following information:
- Domain: Select the overarching field or industry relevant to your dataset.
- Subdomain: Narrow the focus within the domain for more specific categorization.
- Data Type: Specify the format or modality of your data
- Tasks: Define the AI task (e.g., object detection, segmentation) associated with your dataset.
- Description: Provide a detailed and clear contextual summary of the dataset to guide collaborators and future usage.
💡: Please ensure to provide a consistent domain/subdomain throughout the usage of the platform as it may influence all the factors from data preprocessing to model training, and fine-tuning steps as the algorithms will have a few parameters/checkpoints which are influenced by the tagged domain and subdomain. This will assist the users to get optimized results.
💡: On the default data configuration, you will notice there is no provision to provide the object class for Annotation as it is enabled once either the “object-detection” , “instance-segmentation” or “text-classification” tasks are selected, and users need to ensure that they do not complete the configure step and progress to data upload unless the required classes are provided.
Defining Class for Object-Detection/Instance Segmentation
After configuring the dataset for Object Detection/Instance Segmentation, you will notice the option to add the class label and its description in the top right corner as highlighted in below figure:
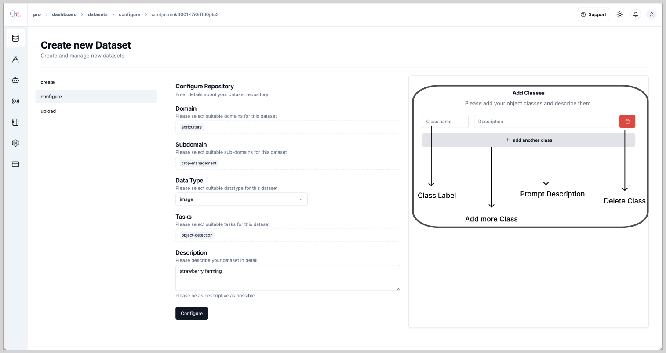
Here you can add multiple classes as per requirement. First, provide the “Class Name” for the first object along with a relevant description you want the tool to identify. Post this you can add another class to the dataset by clicking on the “+ add another class button”. While adding
Multiple classes make sure of the following:
- The class name for each class provided should be unique.
- The class name should be logical based on the object it describes.
- The description provided for the corresponding class should be a logical extension/explanation of the class name.
- Make sure the class descriptions are short and concise.
- Providing vague and/or over-descriptive descriptions will result in duplication of annotations.
- Multiple classes should have minimum overlap between them to be accurately predicted by the auto-annotation tool.
- The current version of the Auto-Annotation tool does not identify the objects based on color, hence refrain from differentiating various classes based on color while providing description.
- While configuring the dataset if you assign a wrong class or an inaccurate description or want to delete a class, you have the option to delete the class while in the dataset configuration window by clicking on the delete button adjacent to the corresponding class.
- Once you have assigned classes and relevant descriptions to the dataset, you cannot edit them (for the current version). Hence make sure it is accurate and logical.
💡: The Auto-Annotation tool is a Generative AI-based tool that will use the “description” as a prompt for the underlying language model to identify the corresponding class in the image and draw a bounding box around it.
💡: The description of the metadata and description of the class are two different entities. The metadata description of the dataset is not directly utilized by the Auto-Annotation tool. Only the “class description” is used as the prompt for the Auto-Annotation tool.
💡: Make sure none of the class names and Descriptions remain empty while progressing to the next stage. This might result in an error or inaccurate annotations.
A simple example of a class and corresponding description is provided below:
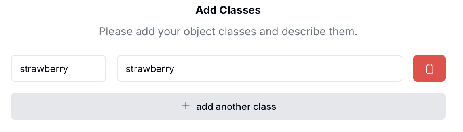
Once you have provided the accurate metadata, and added the required classes and relevant details for the dataset, you can click the “Configure” button to progress to the next step of uploading the dataset.
Post configuring the dataset you will be redirected to the data upload window. You will also notice a “Success” message at the bottom right corner.
After the successful configuration of data, you will be redirected to the data upload window. Here you can upload the dataset. The current version of the QpiAI Pro supports the following formats:
- Supported image formats: JPEG, JPG, PNG
- Supported annotation formats: Standard COCO (JSON)
To upload your dataset in QpiAI Pro, follow these simple steps:
- Zip files are not supported, hence ensuring all the images should be in the folder.
- Make sure the file naming convention is correct in the image folder.
- As per the standard COCO annotation guidelines, all annotations should be stored in a single JSON file
To upload the dataset, click on the “Select Files” or “Select Folder” button. A popup window will open, and you can browse to the dataset location and select the images/folder to upload to the dataset. For example, here we have selected only a few images to be uploaded:
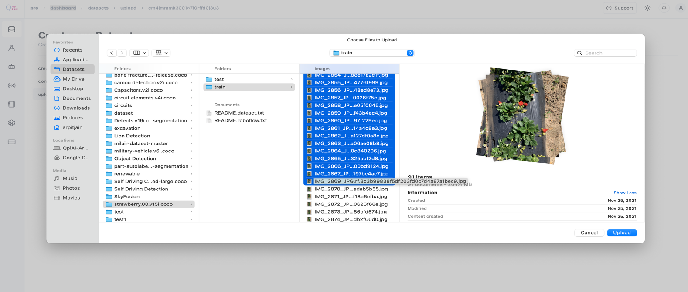
However, you can select all the images or a folder to be uploaded. Once you select the images to be uploaded and click the “Upload” button, you will be redirected to the image upload progress window. The uploading might take some time depending on the size of the dataset. You can check the progress of the uploading as shown in the screen below:

Once the images are uploaded, you can add more images (by following the same process as above) or click on the “Finish” button. After successful uploading of the images, you will be redirected to the data visualization window.
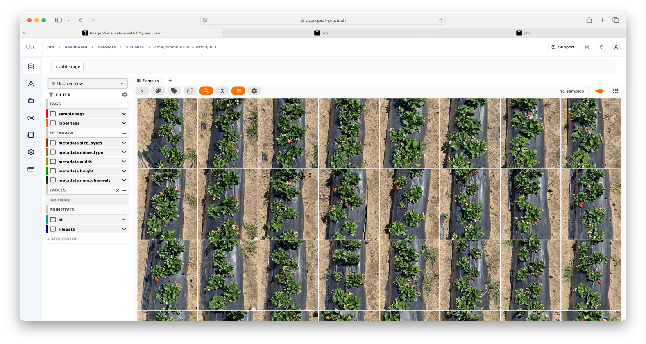
- We will discuss the visualization window in sufficient detail in the next chapter.