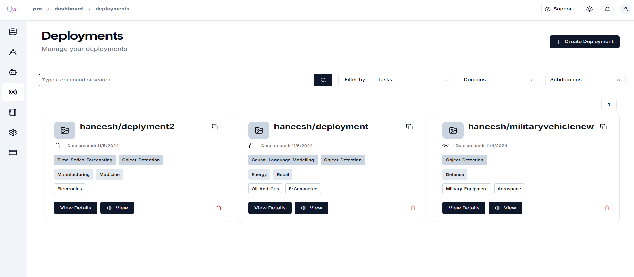
Vision Model Development
- Navigate to the “Deployment Section”: In the sidebar, locate and click on the Deployment section,
- Click on the “Create Deployment +”,
-
In the “Create Repository” section, provide a unique “Deployment Name” and set its Visibility to Private to ensure restricted access.
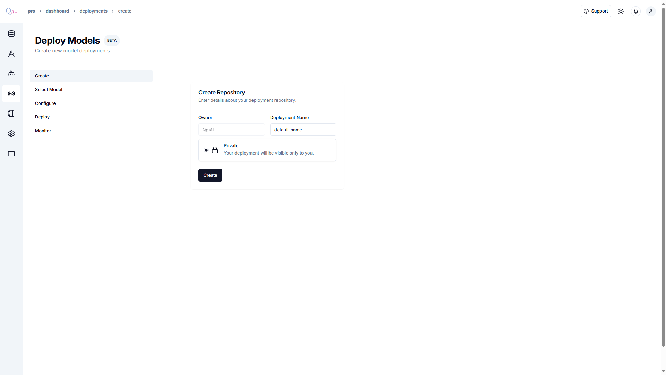
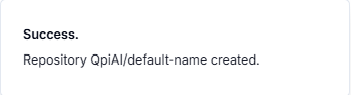
- Click “Create”, and a popup message will appear confirming the successful
-
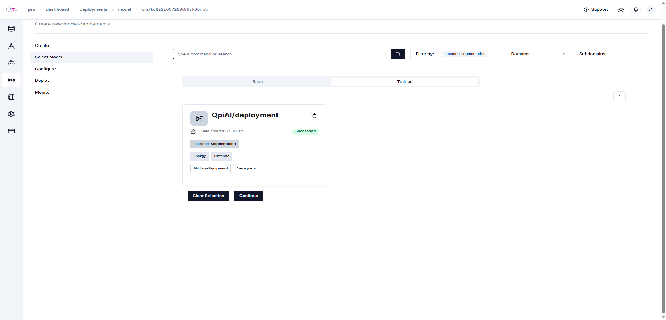
You will now be redirected to the “Model Selection” page. “Select Model” to confirm your choice. If you wish to choose a different model, “Clear the selection” else press “Continue” to proceed.
- Now you will land on the configure page “Configure Repository”, Click update.
-
a popup message will appear confirming the success.
-
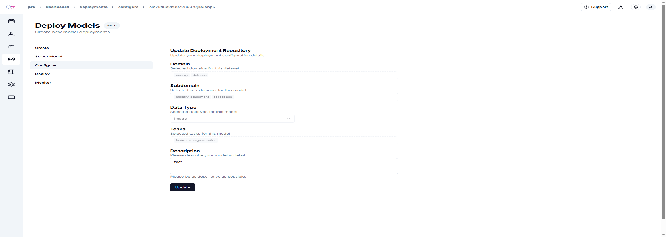
On the “Deploy Model” page, configure the following options as needed:
- GPU: Default value is 0 (selectable range: 0–100).
- CPU: Default value is 2 (selectable range: 1–16).
- Memory (in GB): Default value is 2 (selectable range: 1–64).
- Minimum Replicas: Default value is 1 (selectable range: 0–2).
- Maximum Replicas: Default value is 2 (selectable range: 2–4).
- Target QQPS per Replica: Default value is 4 (selectable range: 1–1000).
-
After giving the required values, you will get a toast message with the values you gave for deployment.
-
Monitor the “deployment status”,
- Wait for replicas to initialize,
- Status will change to “Ready” when deployment is complete,
- Click “View Code” to get integration examples.
Integrate the model:
- Use the provided curl commands or Python code
- Incorporate the endpoints into your application
- Test the integration thoroughly
Example usage on the endpoint
Last updated on