Streaming Deployment
Streaming deployment enables real-time inference using WebSockets. Unlike batch or synchronous API calls, streaming deployment continuously sends data (e.g., video frames, live camera feeds, or real-time inputs) to the deployed model and receives predictions instantly. This is particularly useful for applications like live video analytics, object detection in surveillance, or monitoring systems where low latency is critical.
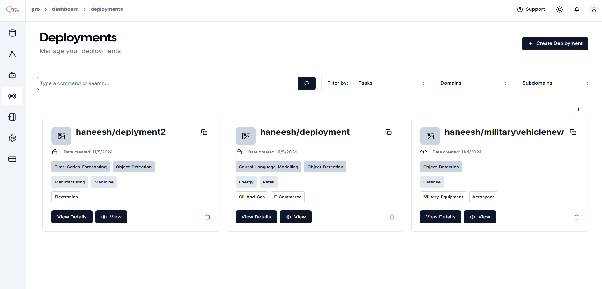
Steps to Create a Streaming Deployment
-
Navigate to the Deployment Section
- In the sidebar, click on Deployment.
-
Create a New Deployment
-
Click on “Create Deployment +”.
-
The process is similar to earlier deployment creation steps.
-
-
Configure Deployment Settings
-
Provide deployment name, description, and model details.
-
Select resource requirements (CPU/GPU).
-
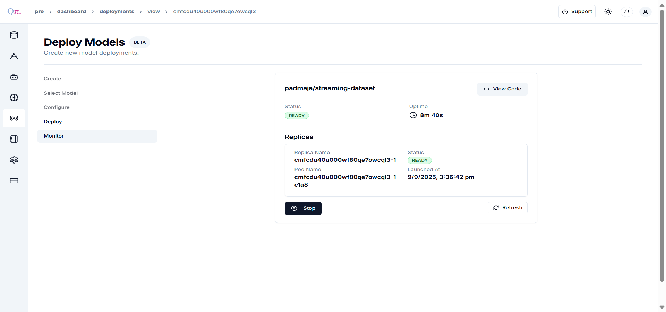
-
Monitor the “deployment status”,
- Wait for replicas to initialize,
- Status will change to “Ready” when deployment is complete,
-
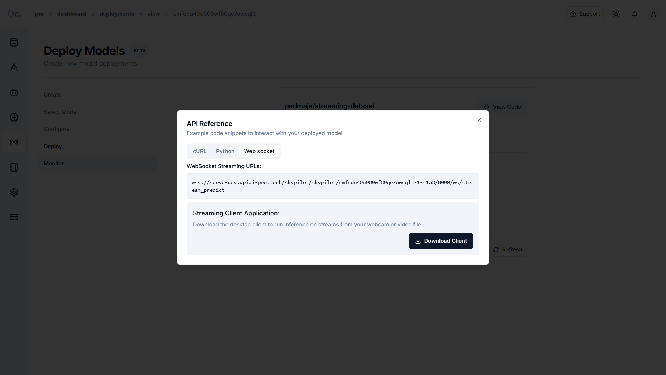
Click “View Code” to get integration examples.
-
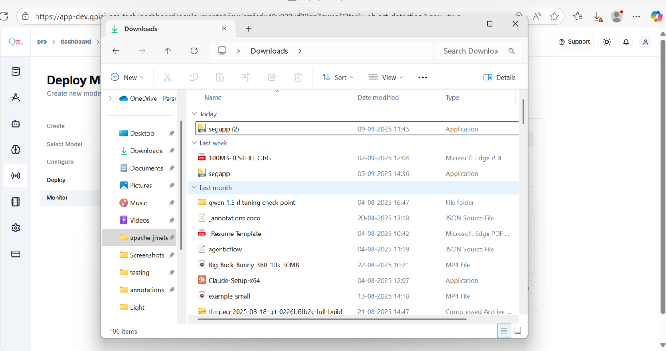
Click Download Client.
-
Wait for the toast message confirming the download. Once downloaded, check the file in Recent Downloads.
-
WebSocket Client Setup
-
Click Open, then select More Info > Allow and Continue.
-
If prompted with a toast/permission message, click Allow once and continue.
-
-
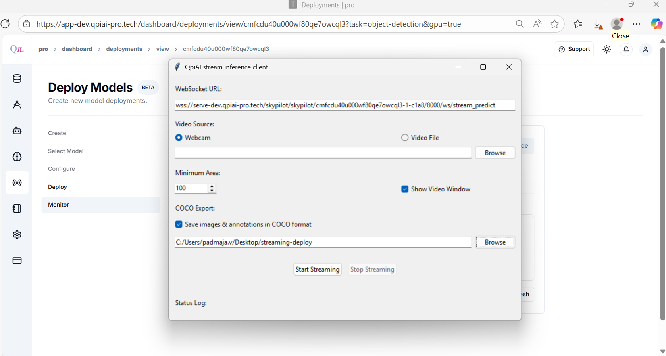
QpiAI Streaming Inference Client
- Open the QpiAI Streaming Inference Client and paste the WebSocket URL.
-
You have two options:
-
Real-Time Inference
-
Select Webcam.
-
Paste the URL and click Start Streaming.
-
-
Video Inference
-
If you have a test video, click Video File > Browse and add the video.
-
If inference results need to be stored, check Save Images and Annotations in COCO format.
-
Click Start Streaming.
-
-
-
You will see the video inference or real-time inference results as shown in the images.
-
Once finished, click Stop Streaming.